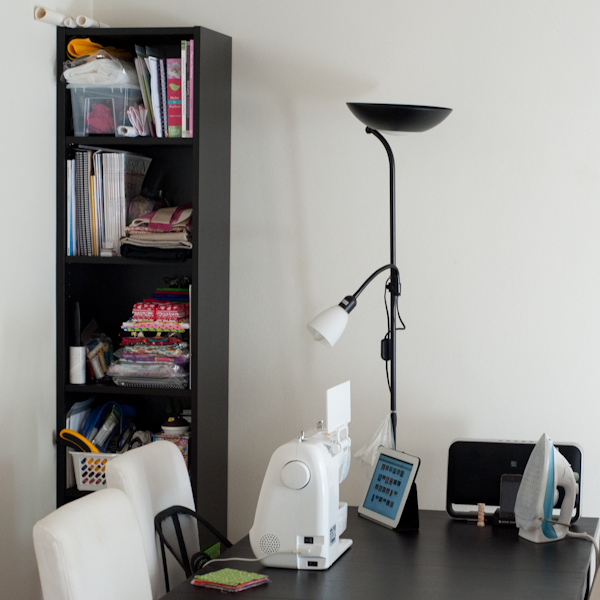
In the lead up to Christmas 2010 I decided I wanted my own sewing machine. I started shopping around and I had a pretty clear idea of what I wanted to be able to do with it, mostly making or altering clothes and costume pieces. The lovely woman at my local sewing machine store was really helpful showing me the different machines and asking what kind of sewing I was planning to do, to help me find the right machine. When she asked if I was planning on doing any quilting I almost laughed, I thought “no way!”, but I didn’t want to offend her so just said “not really at the moment”.
It only took about 12 months before I got sucked in by all pretty fabrics that I didn’t think I could pull off wearing, and the appeal of sewing straight lines on flat pieces of fabric – though here’s a secret, it’s harder than it looks! A few of the sewing bloggers I follow had worked on a quilt at some point or another, I followed some of their links, found more quilts, followed more links… you know how that ends. I discovered the Modern Quilting movement and quilts I not only really liked, but thought I might actually be able to attempt myself.
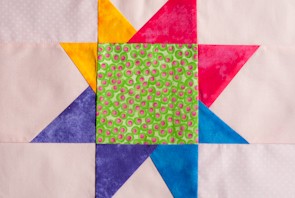
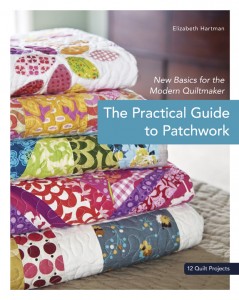 The next Christmas rolled around, I asked for some cotton fabrics and a couple of books. One of those was The Practical Guide to Patchwork: New Basics for the Modern Quiltmaker by Elizabeth Hartman. I read the whole book cover to cover and then went back and picked out the Snapshots quilt as the one I’d like to try first. Elizabeth’s version is basically a checker board pattern alternating white squares with a range of white prints on black, and a pieced back that introduces a splash of colour.
One of the things I love about this book is that for each project there are examples of alternate ideas for fabrics to use, and a list a fabric options including precuts or the amounts required for a different number of fabrics. It’s a gorgeous quilt as is and one day I might go back and make it in those fabrics but I wanted something brighter and a little more exciting for my first quilt, and including those options felt like I’d been given permission to change it a little and do it my own way. So that’s exactly what I’m doing, next post I’ll show you what fabrics I chose and the first steps to making my first quilt!